Deploy a Spring Boot & Angular App to Azure
Starting with Python/Flask for small projects to get a quick prototype makes sense, but mostly I see myself switching back to type safety, for example with Java. I recently did exactly that, deciding to start with a simple Spring Boot app with Angular and deploying the thing on Azure, and I'd like to share what I did to get there.
Creating a Spring Boot App
We'll start with creating a Spring Boot App using the Initializr, using the following settings:
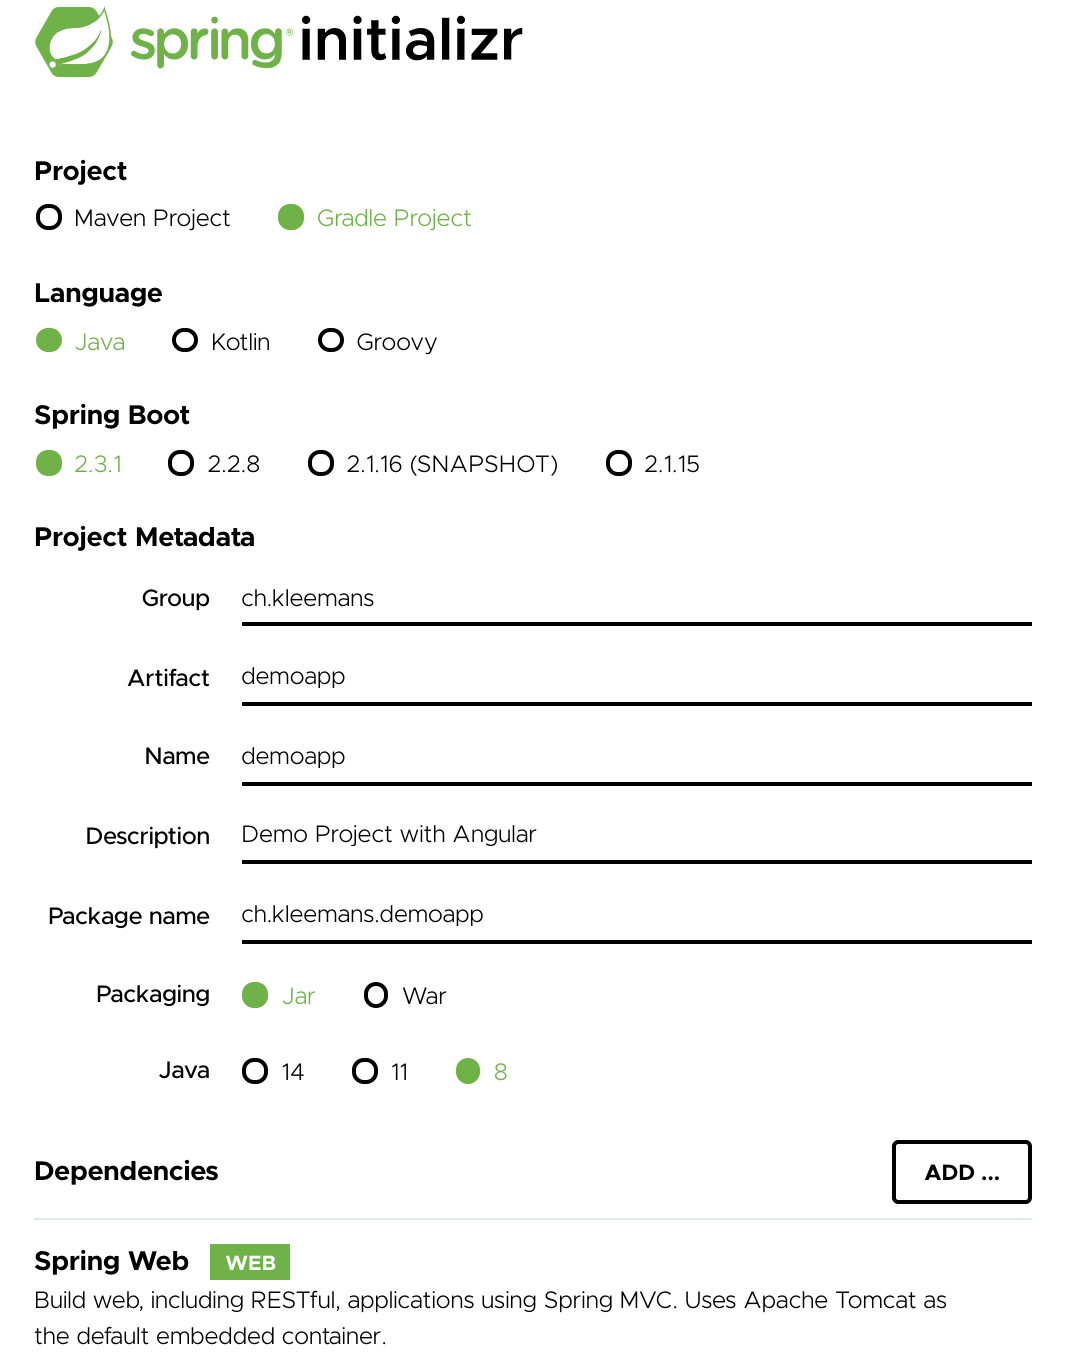
Because of the deploy plugin we're going to use, the choice is either Gradle with Java 8 or Maven with Java 11. As I strongly prefer Gradle over Maven, let's go with the first combination. For Spring dependencies, it's enough to only include "Spring Web" for the moment.
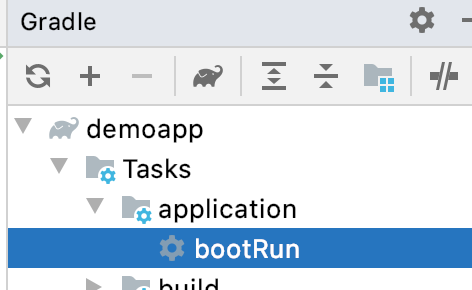
After downloading and opening up the project in IntelliJ, we can let Gradle fetch the dependencies:

Let's add a simple controller so we see something when we fire up the application:
A simple controller with a REST endpoint which will say hello and repeat the name which was given as a query string.
We can now run the application:
and see the following result:
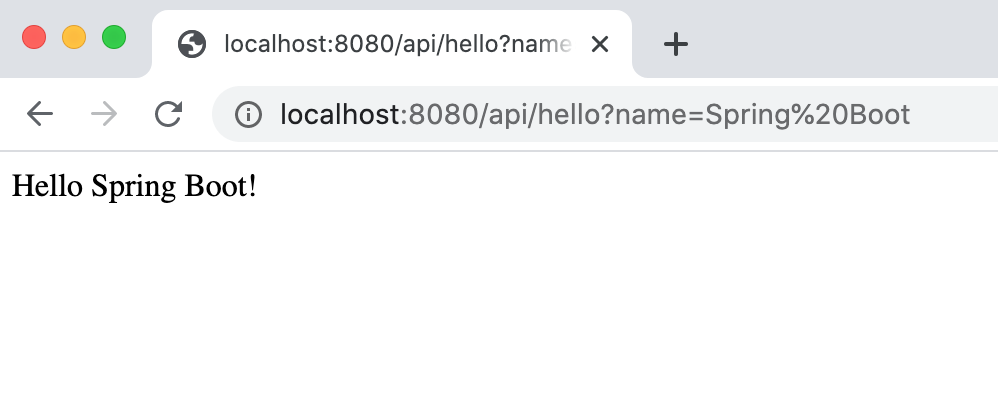
A running Spring Boot app, responding to our query!
Initializing Angular
Now, let's set up the frontend. I mostly work with Angular, also for private projects. After NodeJS and the Angular CLI is installed, simply run
ng new demoapp-frontendto create a new Angular project. The Angular app will be created in the current folder, inside our existing "demoapp" folder (you can also choose to put them besides each other on the same directory level).
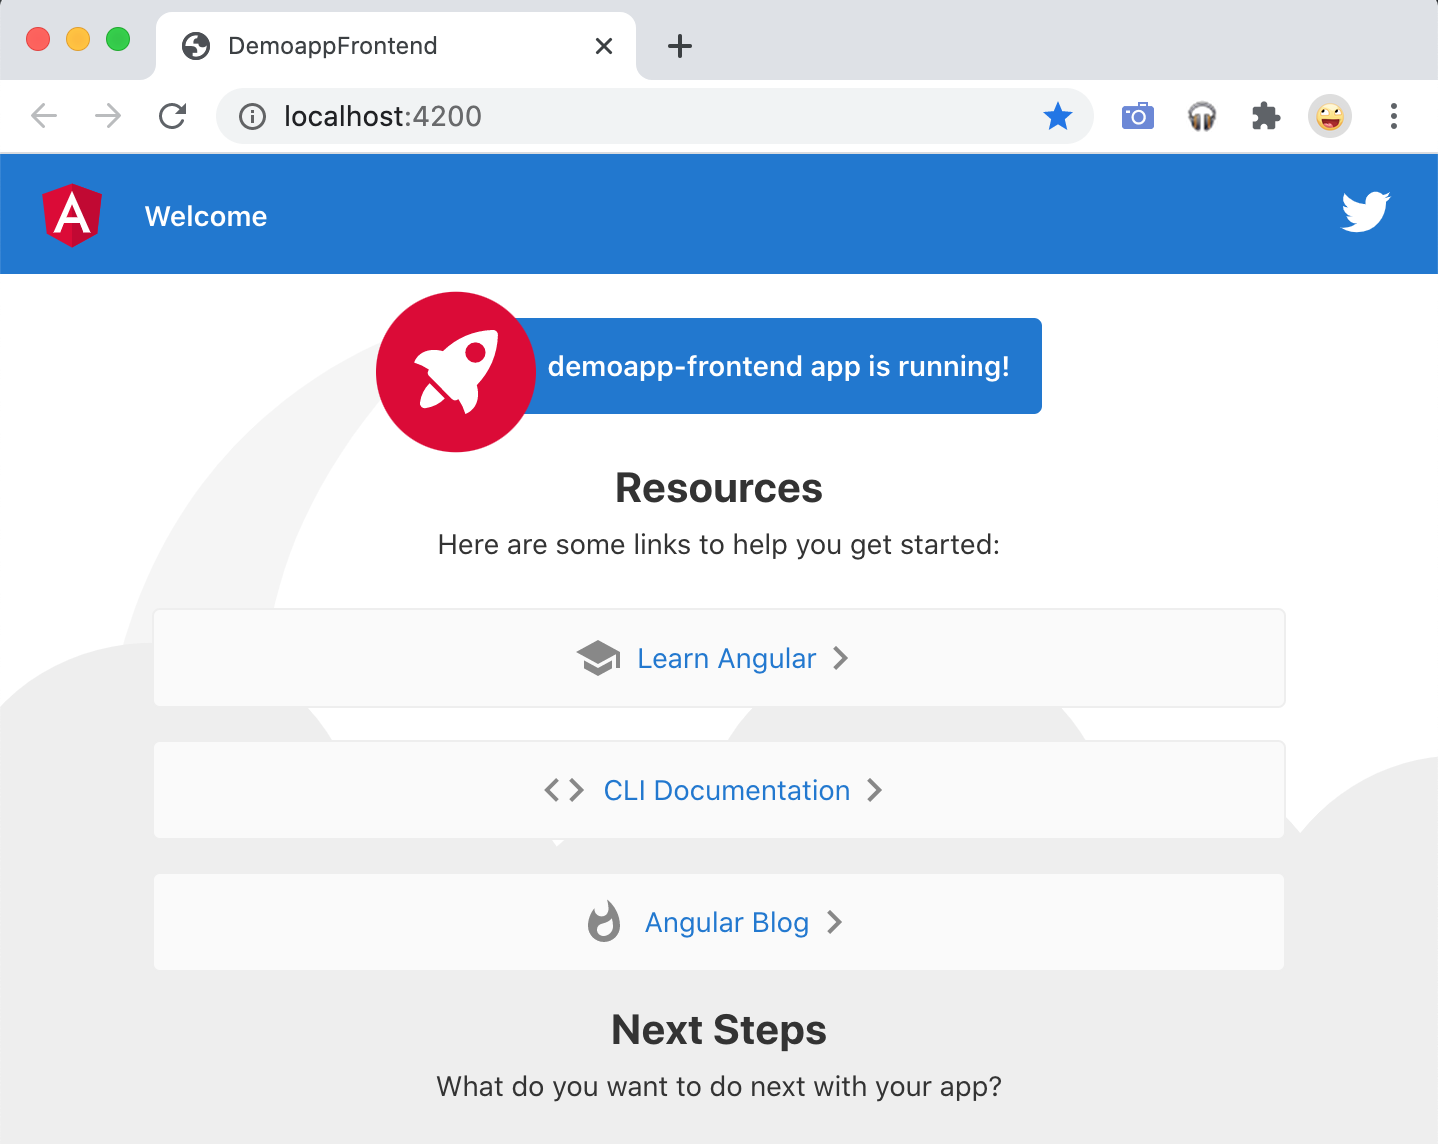
Let's switch into the folder and run the Angular App:
cd demoapp-frontend
ng serve
We can now see our frontend in action:
Combining Backend & Frontend
There are many options for serving a frontend, but for simplicity, let's include it in the Spring Boot App (and let it be served through Spring), so we get one deployable jar.
We'll remove the template content from Angular and add a simple page for calling our "Hello" API endpoint:
(Besides the above version of app.component.ts, we'll also need to import HttpClientModule in our AppModule).
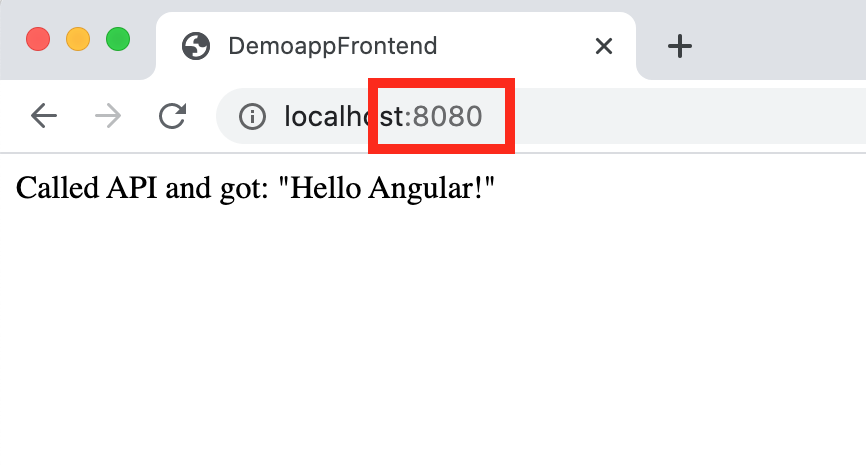
Now when both our frontend and backend are running, we should get the following:

The frontend is running on port 4200 and fetches data from the backend (which is running on port 8080).
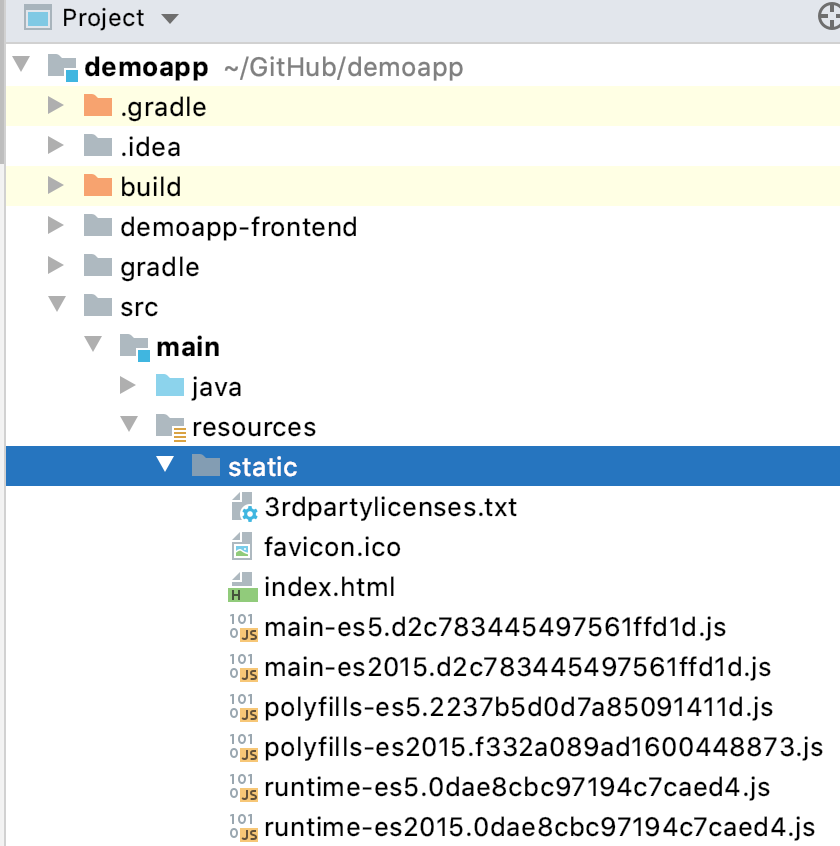
We can now create a production build of the Angular app and copy the (by script or by hand). Everything in static will be served as static files by Spring Boot.
ng build --prod
cp -r dist/demoapp-frontend/ ../src/main/resources/static/
The directory structure should now look like this:
Now we can test if we correctly wired everything and run it, it should now look like the following:
Now we only need to run the Spring Boot App and get the Angular frontend served on the 8080 port!
Setting up Azure
Next up we try to setup Azure so we can push / deploy our jar. This requires the following steps:
- Create Azure account & setup a "Resource Group"
- Create a new "App Service"
- Download AzureCLI and login
- Add plugin & parameters to webapp
We'll first need to set up an account, by registering at portal.azure.com. On registering, you should get some free amount of compute time and / or budget.
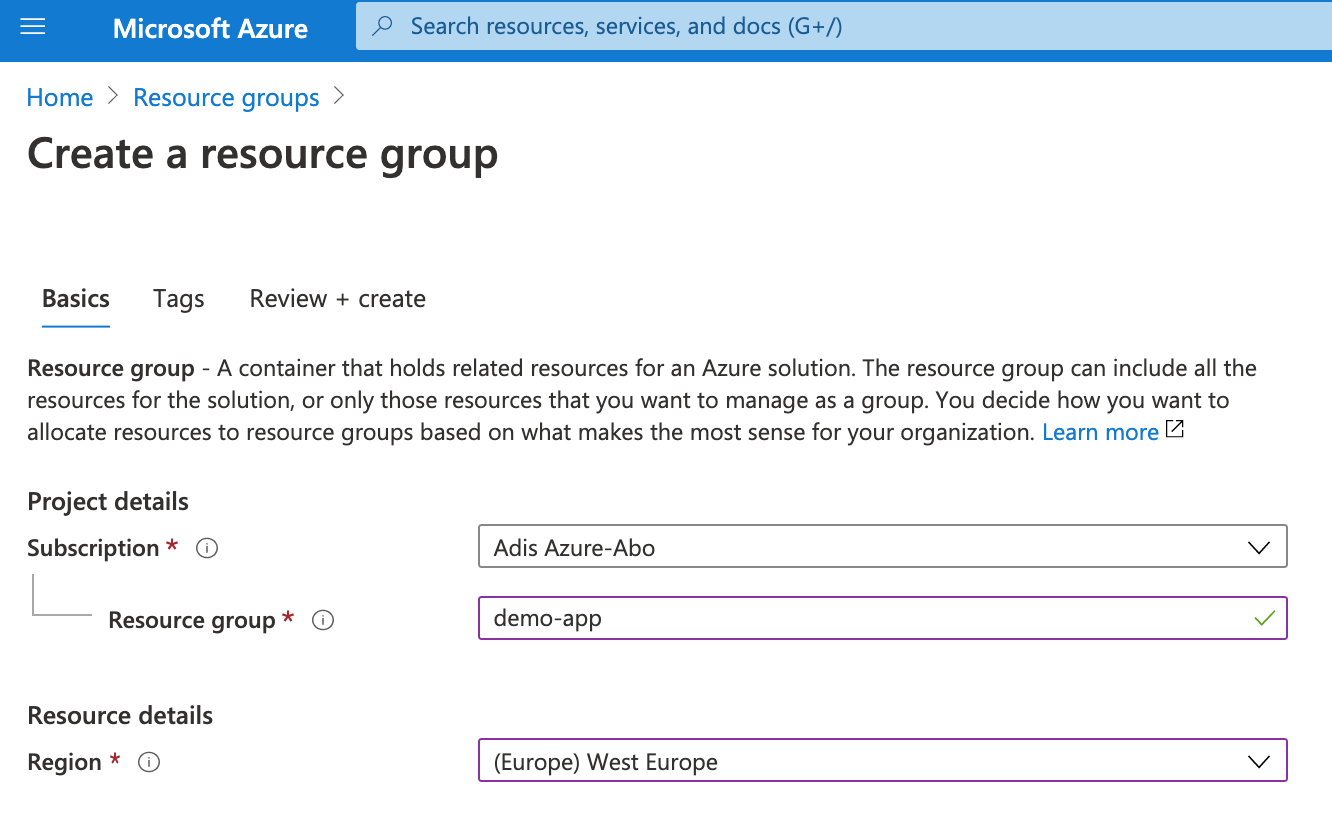
Once logged in, you can create a so called Resource Group. This will serve as a container for your web app and other services which you might add later.
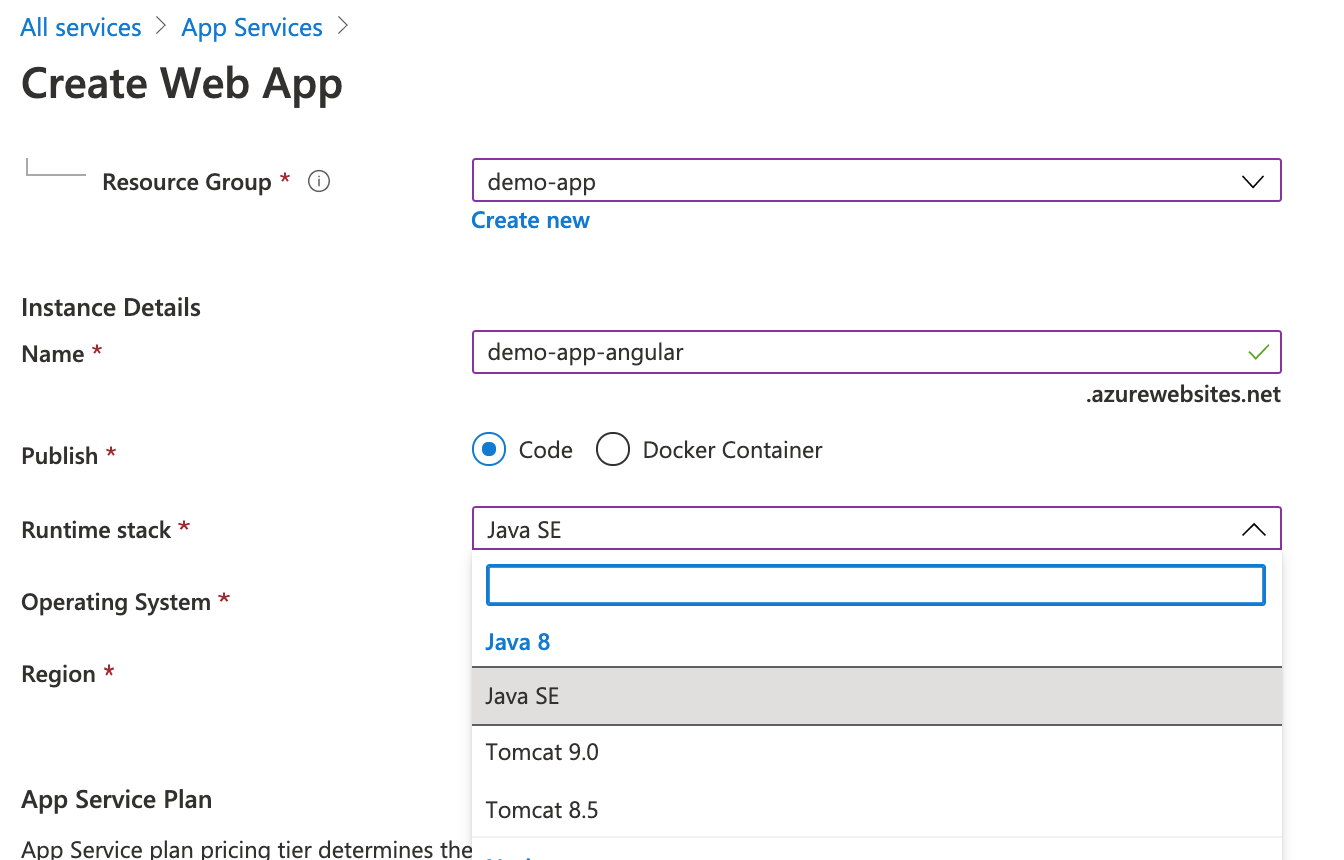
Next, add an instance of a App Service:
We'll just use Java SE with the version we used when generating the Spring Boot App.
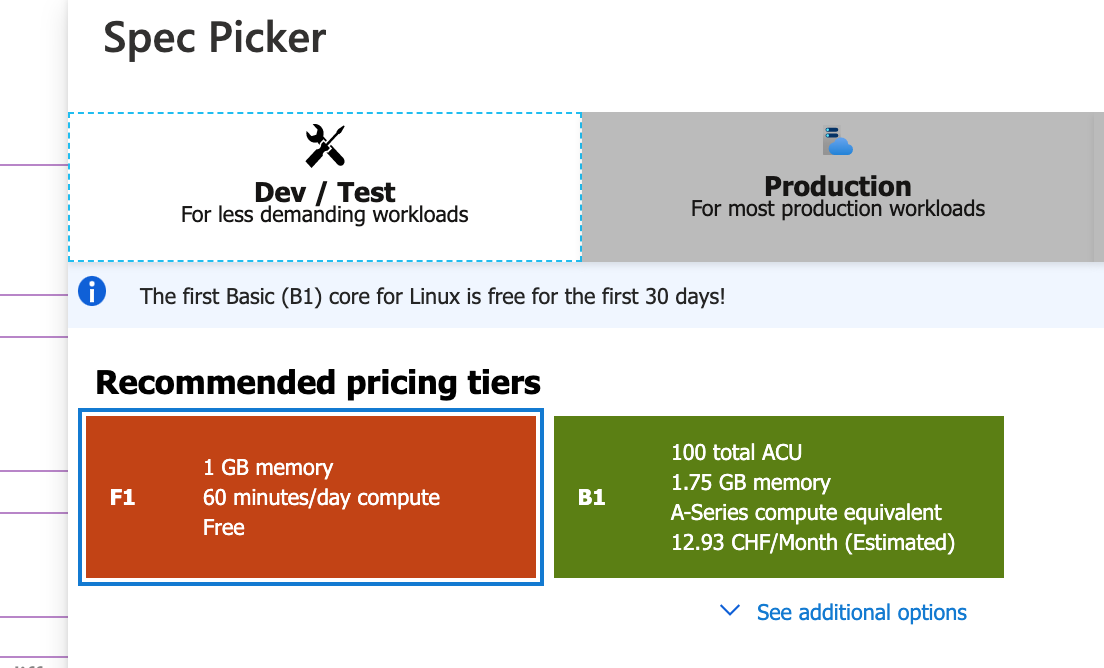
Make sure to change the tier to a lower one to get started:
Azure is now set up and waits for a first deployment. To do this, we need to install Azure CLI, following this guide. For Mac OS, this was the following command:
brew update && brew install azure-cliAfter it is installed, you can login on your local machine using
az loginwhich redirects you to a login page.
Deployment with Gradle Plugin
Now we need to add a plugin to deploy our jar to Azure. There is no official one (yet), but luckily an inofficial one, see this Github Repo. We can add it in the build.gradle file:
plugins {
    id 'lenala.azure.azurewebapp' version '1.0.1'
    ...
}
You also need some parameters set (which match your configuration) which will help decide the plugin where to push your app:
azureWebApp {
resourceGroup = 'demo-app'
appName = 'demo-app-angular'
pricingTier = 'F1'
region = 'central-us'
appService = {
type = 'linux'
javaVersion = 'jre8'
runtimeStack = 'jre8'
}
authentication = {
type = 'azurecli'
}
deployment = {
type = 'jar'
}
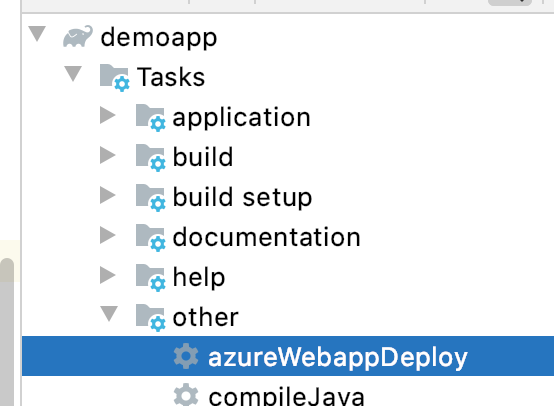
}After refreshing Gradle, you should see a new job which you can run:
After first running bootJar and then azureWebappDeploy, we see the how the webapp is getting deployed:
> Task :azureWebappDeploy
Start deploying to Web App demo-app-angular...
Authenticate with Azure CLI 2.0
Updating target Web App...
Successfully updated Web App.
Deploying artifacts
/Users/kleemans/GitHub/demoapp/build/azure-webapps/demo-app-angular
Successfully deployed the artifact to https://demo-app-angular.azurewebsites.net
Successfully deployed Web App at https://demo-app-angular.azurewebsites.net

BUILD SUCCESSFUL in 36s
1 actionable task: 1 executed
Task execution finished 'azureWebappDeploy'.
Let's have a look online:
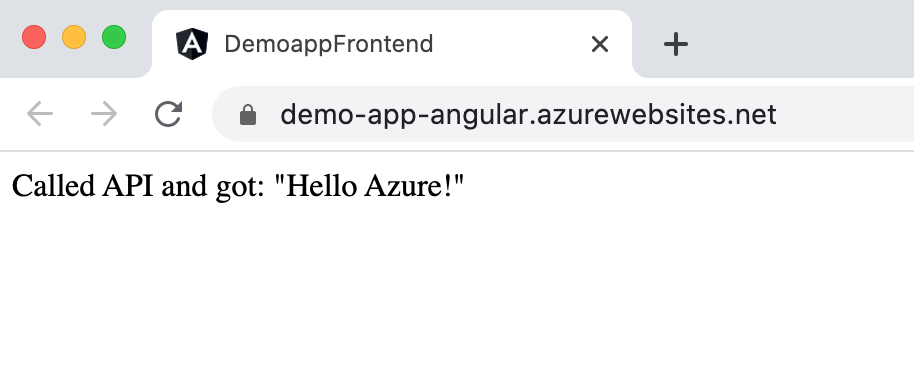
We just deployed our first complete web app with frontend and backend - awesome! :D
You can have a look at the complete code in this Github repository.
Possible next steps:
- Add a Azure DB and integrate it in the Spring Boot app with JPA/Hibernate
- Build, test & automate deployment with Github Actions (or Azure pipelines)
Thanks for reading and happy hacking!
