Generate Excel files with Python (on Windows)
Working with tables of data still is a major use case for many applications. Often, the data comes in as a text file or a CSV, then some work has to be done (moving around columns, changing/deleting rows, sorting, etc.) and then an output file has to be generated.
In many cases, this has to be an Excel (.xlsx) file, either for feeding another application or for human usage. Using Python (with openpyxl), I'd like to demonstrate how to create such an automated task and build an executable for windows.
Processing the CSV data
First, the data needs to be read in from the source file. The easiest way is to use Python 3's standard csv library, and define delimiter etc. (You can even set the encoding directly here, see this file for an example.)
import csv

data = []
with open(filename, 'r') as csvfile:
    csv_reader = csv.reader(csvfile, delimiter=';', quotechar='"')
    for row in csv_reader:
        data.append(row)
Now that we have the data, we can apply some basic operations to it, like removing certain rows (here: A-C, L, M:
for row in data:
    del row[11:13]
    del row[0:3]
Or format a cell, fill up with leading zeroes:
for row in data:
    row[2] = row[2].zfill(7)
Or delete rows with a certain prefix (here: X):
data = [row for row in data if row[2][0] != 'X']We can also sort the data by a certain column, for example colum C (index 2):
data.sort(key=lambda x: x[2])For some more examples see this project on Github, it's an automated CSV processing script with 15 steps and two output Excel files.
Creating .xlsx-files
Luckily, with openpyxl, it's easy to create Excel-compliant xlsx-Files. We can access the workbook and worksheets as python objects and read/write from them.

With data, our prepared list of rows, we can just open a new workbook with a worksheet, and append to the "end" of it:
from openpyxl import Workbook
workbook = Workbook()
worksheet = workbook.active

for row in data:
    worksheet.append(row)

workbook.save("processed_data.xlsx")
You could also access cells directly, but as we did all the preprocessing with the raw data before, we just fill in the Excel worksheet. That's it!
Building a windows executable
If we want to be able to execute the program on any windows computer, possibly without a preinstalled Python environment (which is probably what most of the users have by default), we need to build a windows executable. Creating one was still tricky as you need at least a windows PC, and you need to configure some basic things for the .exe to work.
I used auto-py-to-exe, a little wrapper for pyinstaller, which will spawn a nice web UI on which you can configure your build parameters. (Other options like py2exe or cx_freeze would probably work too, but I found auto-py-to-exe the easiest).
You'll need Python 3.x installed on your windows machine, and also PIP. After this, you can run pip install auto-py-to-exe to install it.
If everything worked, you can now start it with a terminal:
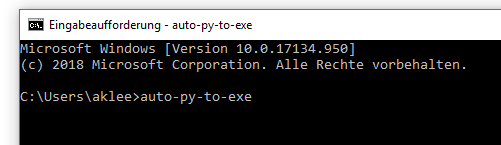
Then, the browser should open and you can enter the script location and choose "one file" and "console based" options.
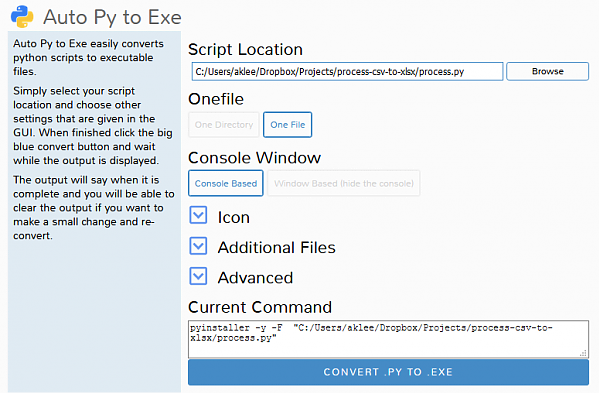
It will then basically generate the following command (and run it):
pyinstaller -y -F process.pyAfter running, you see the log in the console window, and the .exe file should be generated:
Thanks for reading and happy data hacking!
